
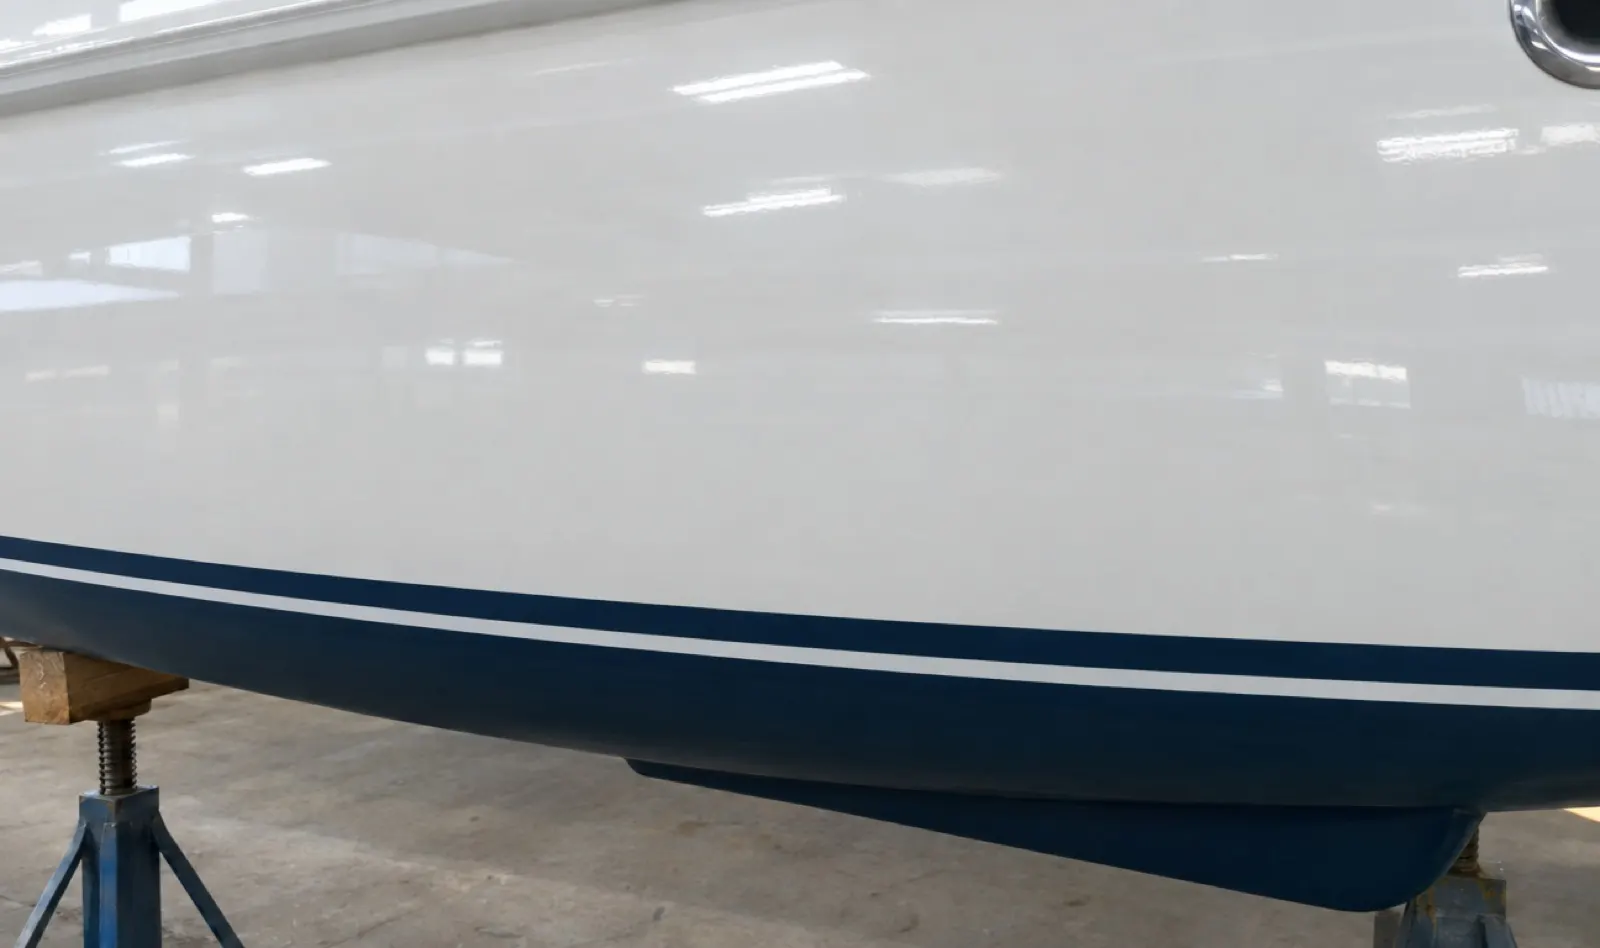
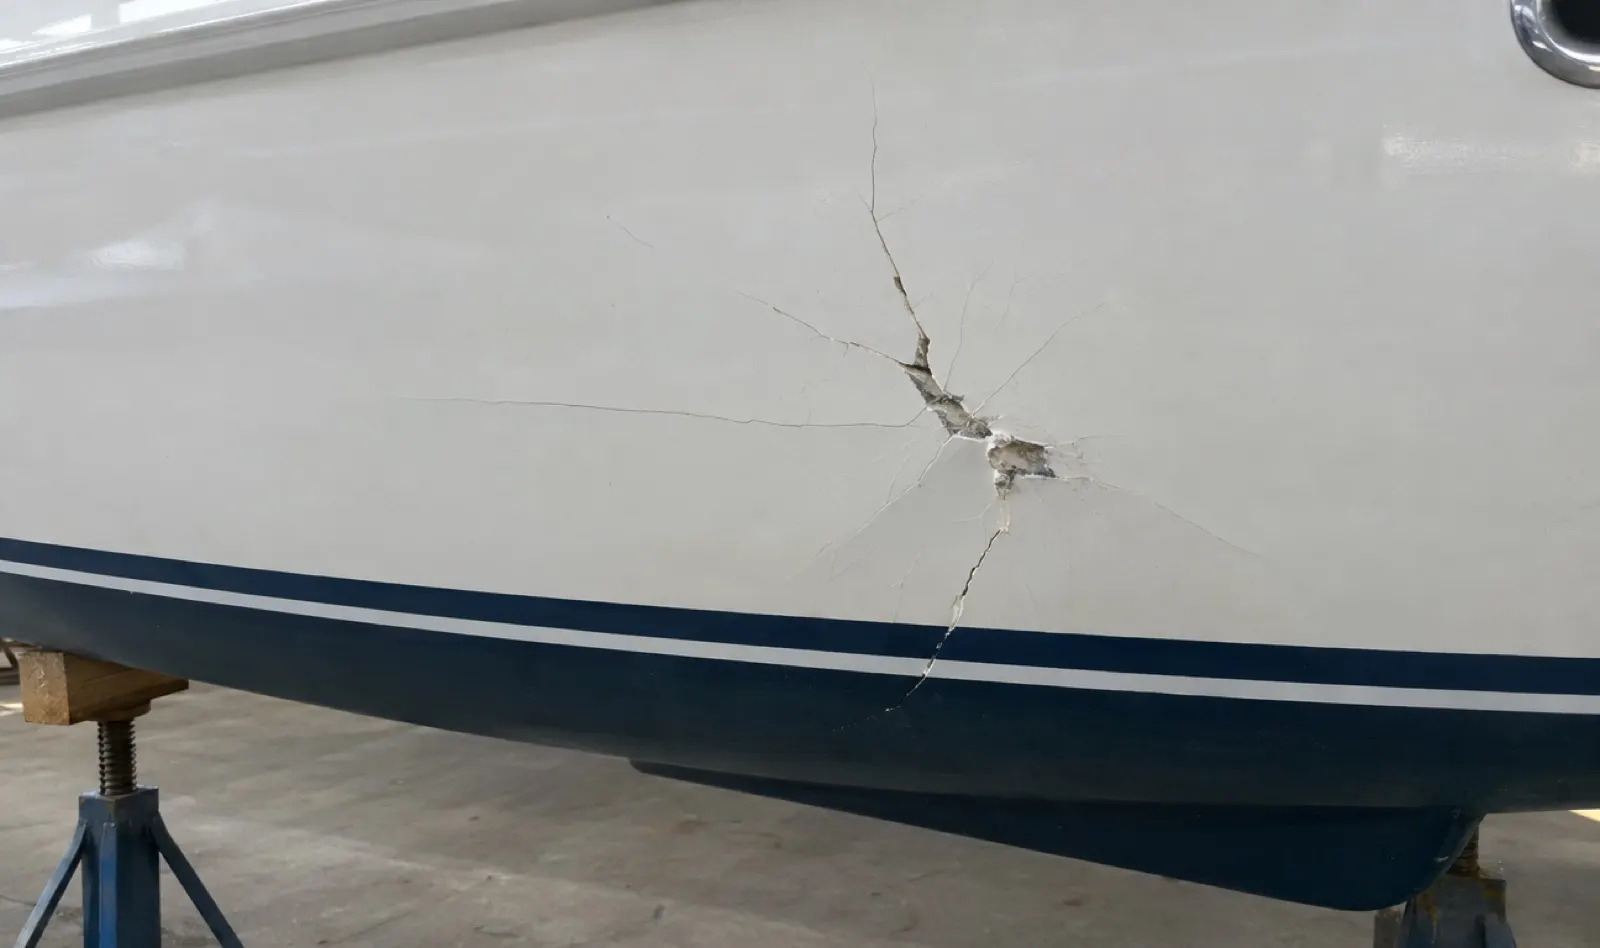
Structural and cosmetic repair,
documented.
Transoms to gelcoat. You see what we found, what we fixed, and you approve anything extra before we do it.
Below the surface.
And on it.
Open any item for a one-line explanation. Not sure which it is? Send photos and we'll tell you.
Structural
06 itemsS1Transom replacement
We cut out the wet or rotted core, rebuild the transom with new core and glass, and tie it back into the hull.
S2Stringer replacement
Soft or broken stringers are cut out and rebuilt so the hull gets its stiffness back.
S3Crack and hole repair
Damage is ground back to sound laminate and rebuilt layer by layer, not just patched over.
S4Soft spots
We find where the core has gone soft, remove it, and bond in new core.
S5Core and delamination
Where the skins have let go of the core, we open it up, dry or replace the core, and re-bond it.
S6Hull damage
Impact, grounding, or storm damage repaired inside and out, then faired back to shape.
Cosmetic
06 itemsC1Gelcoat repair and color match
Chips, gouges, and cracks filled and matched to your existing color so the repair disappears.
C2Resprays
A section or the whole hull resprayed for an even, fresh finish.
C3Paint
Surface prep, primer, and paint for topsides and decks.
C4Fairing
Waves, dips, and print-through filled and long-boarded until the surface runs straight.
C5Full restoration
A tired boat brought back: repairs, fairing, and finish planned as one project.
C6Detailing
Compound, polish, and protect to finish the job right.
Every repair
is photographed.
You see exactly what we found and what we fixed, posted to your project page.
If we open something up and find hidden damage, you get the photos and a price before any extra work is done.
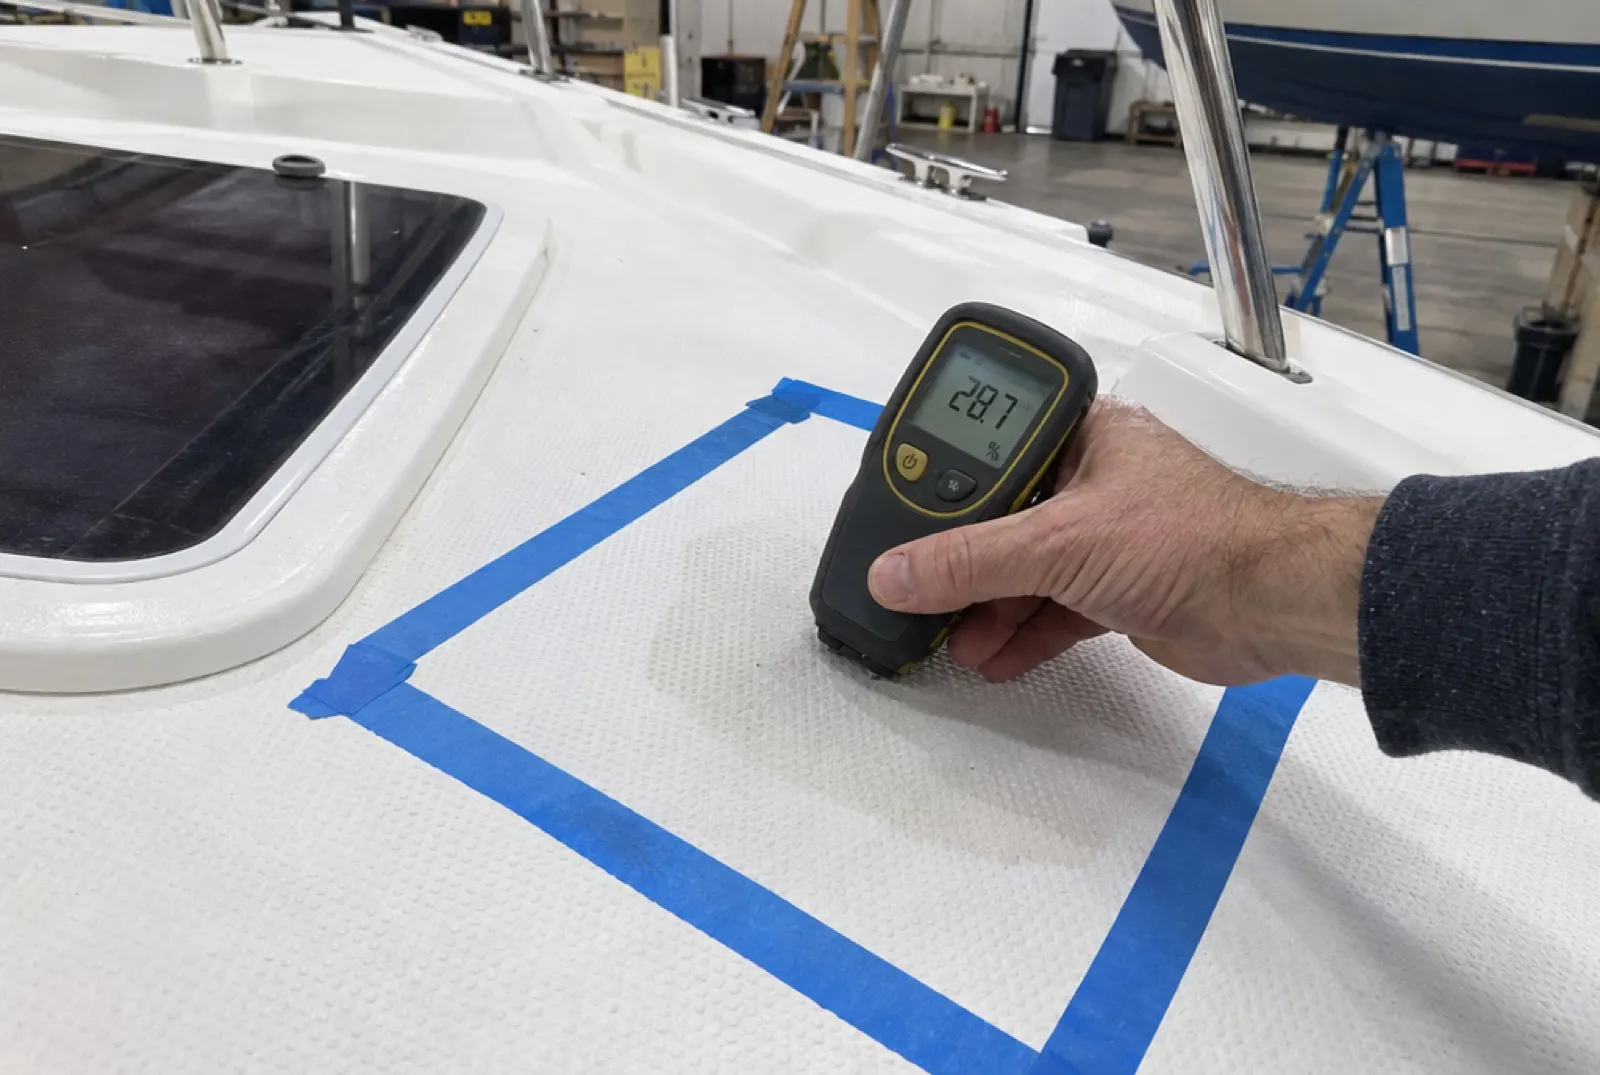
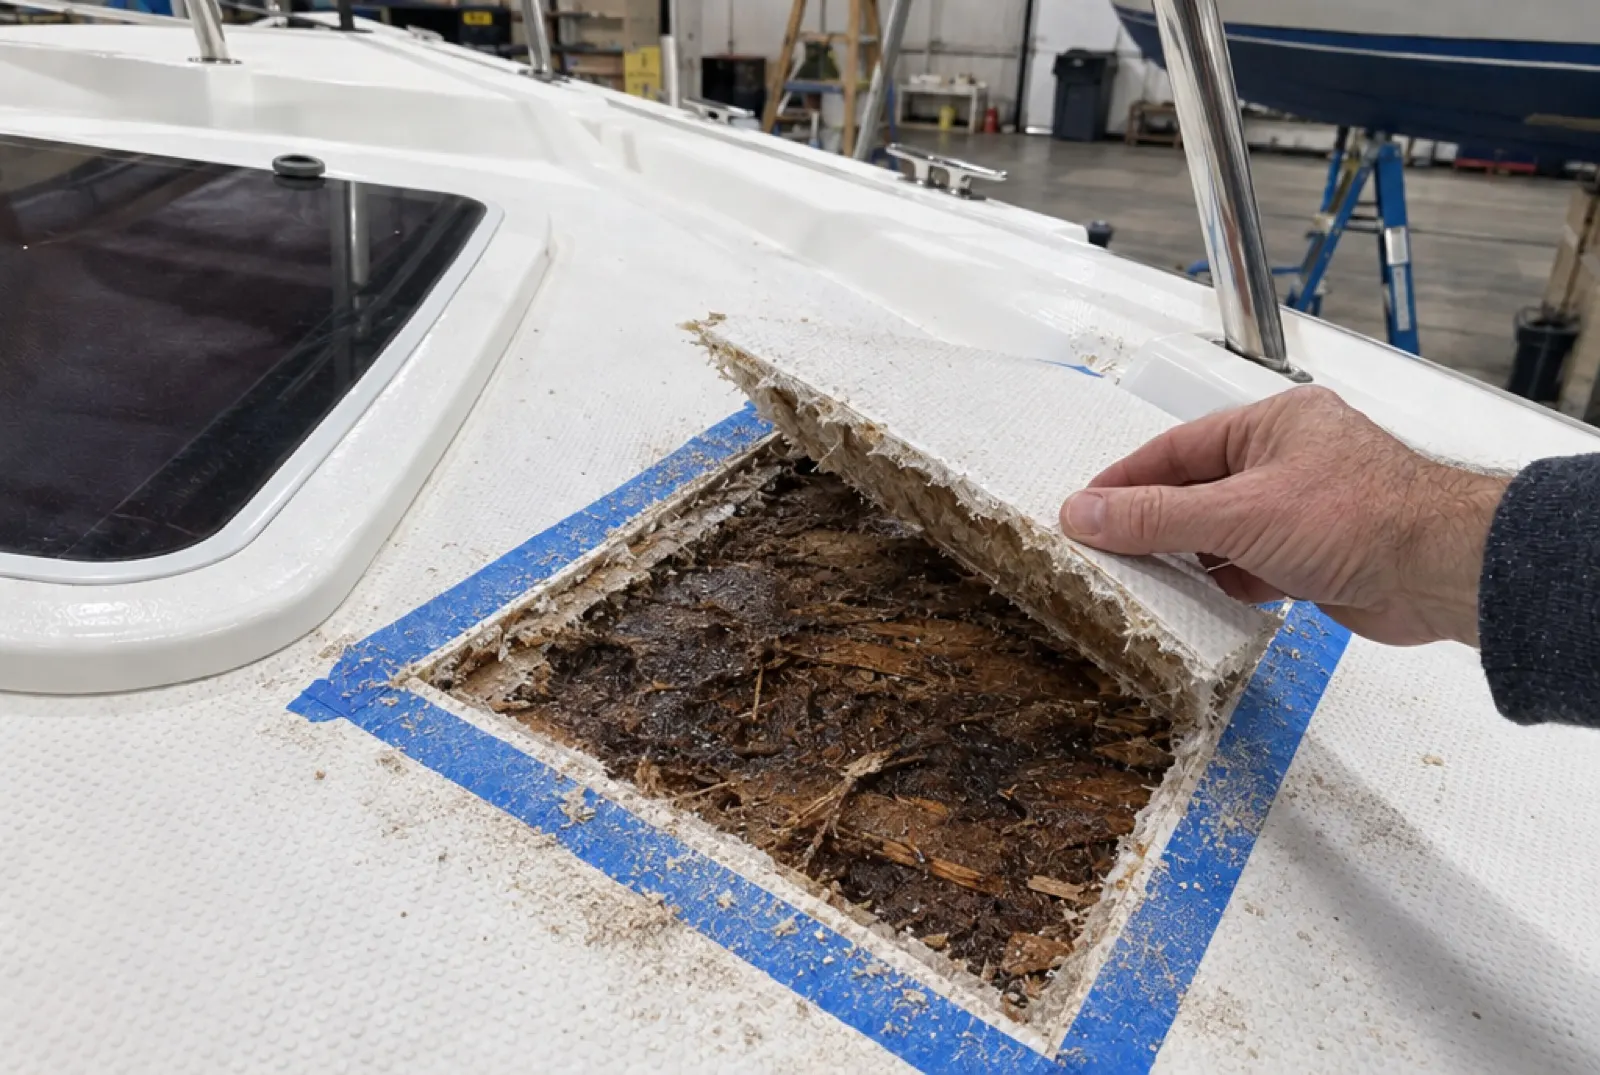
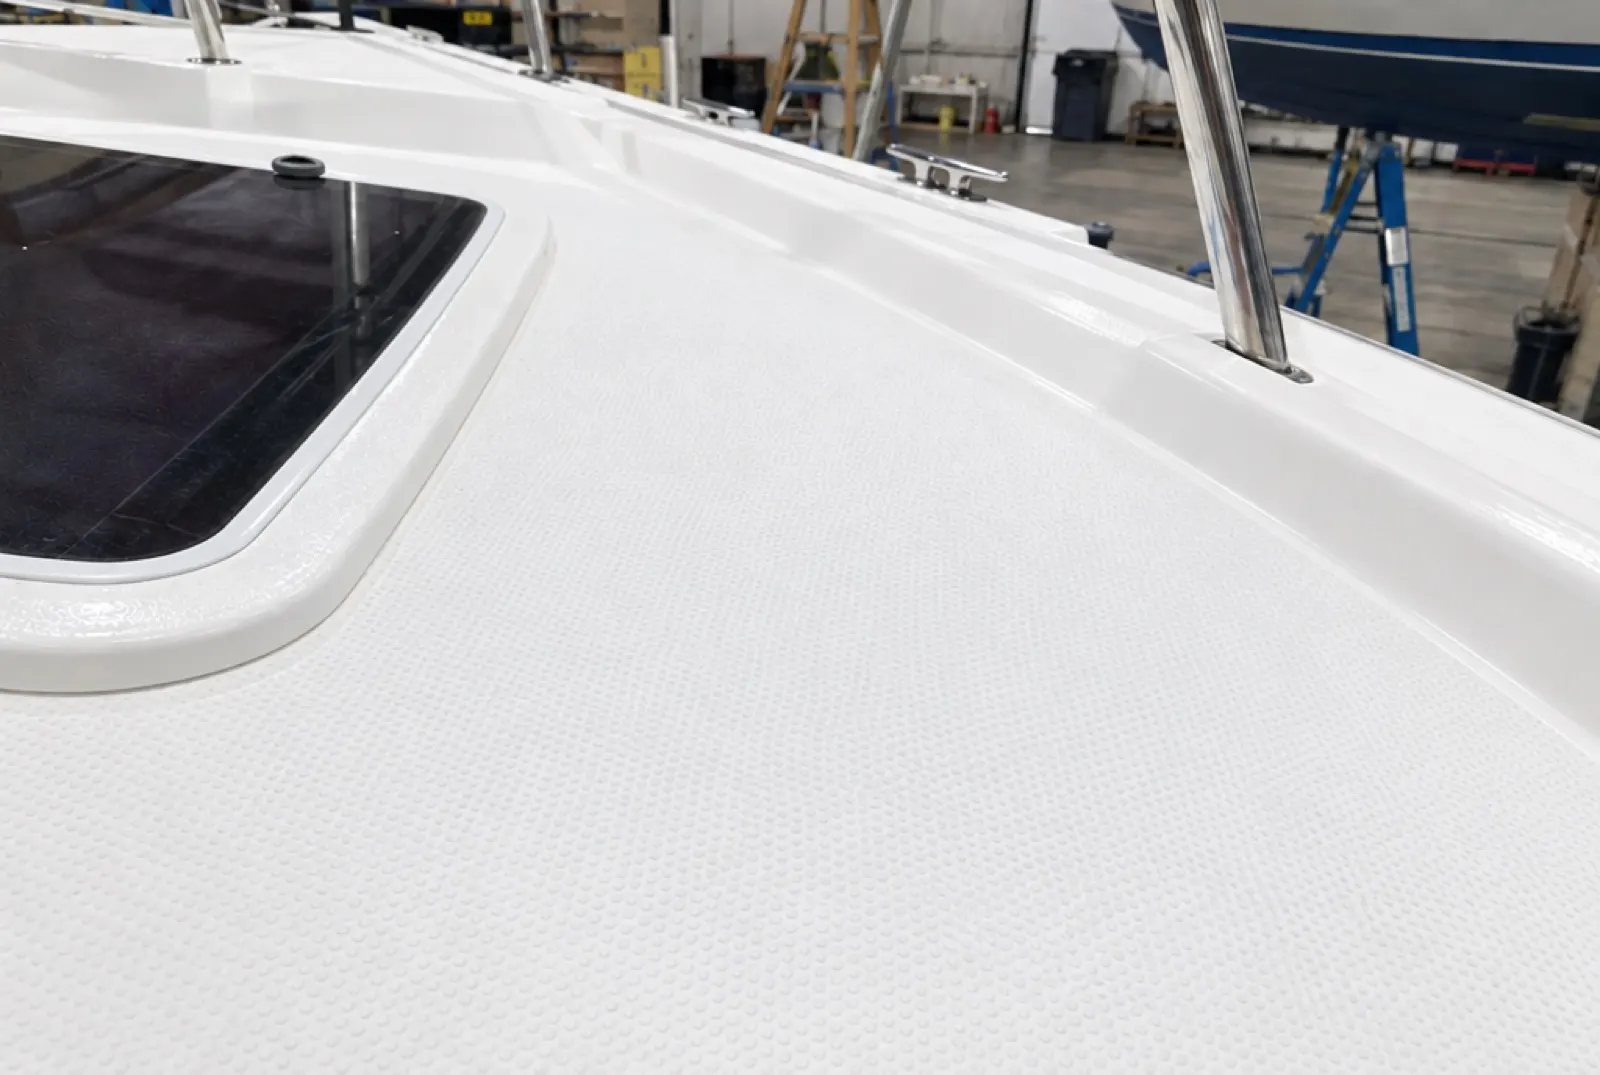
Hidden damage? We stop, photograph it, and send a supplemental estimate. Nothing extra happens until you approve it.
How a repair runs.
Inspection
We look at the boat, sound it out, and photograph the damage.
Itemized estimate
Every line of labor and material, so you know what you're paying for.
Approval
You approve the estimate online. Work starts after that.
Repair with photo updates
Dated photos and notes on your project page as the work moves.
Final walkthrough
We go over the finished repair with you before the boat leaves.
Before you bring it in.
Still unsure? Send a few photos with the estimate form and we'll tell you what we see.
Send photos.
Get a number.
The form opens set to Repair. Photos of the damage, with something for scale, help most.